Module 3 Formstorming
Weekly Activity Template
Jane Hou
Project 3
Module 3
Activity 1


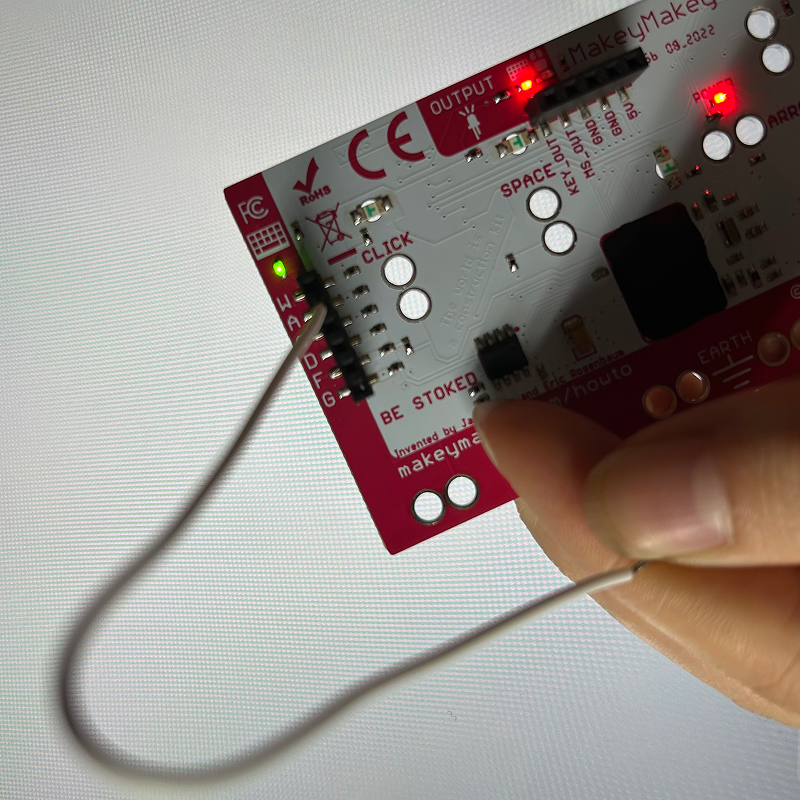
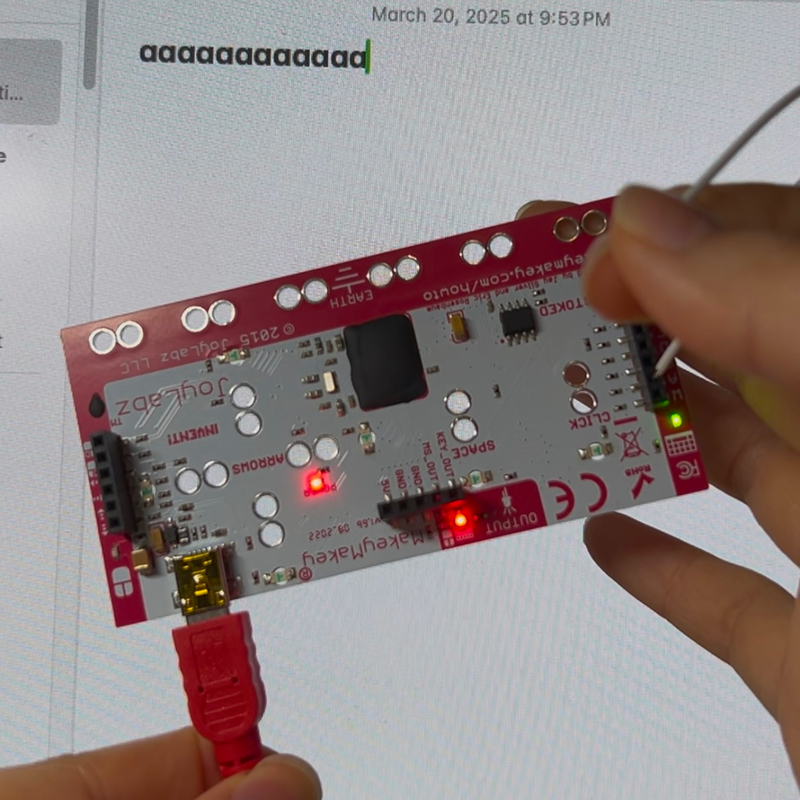
Activity 2

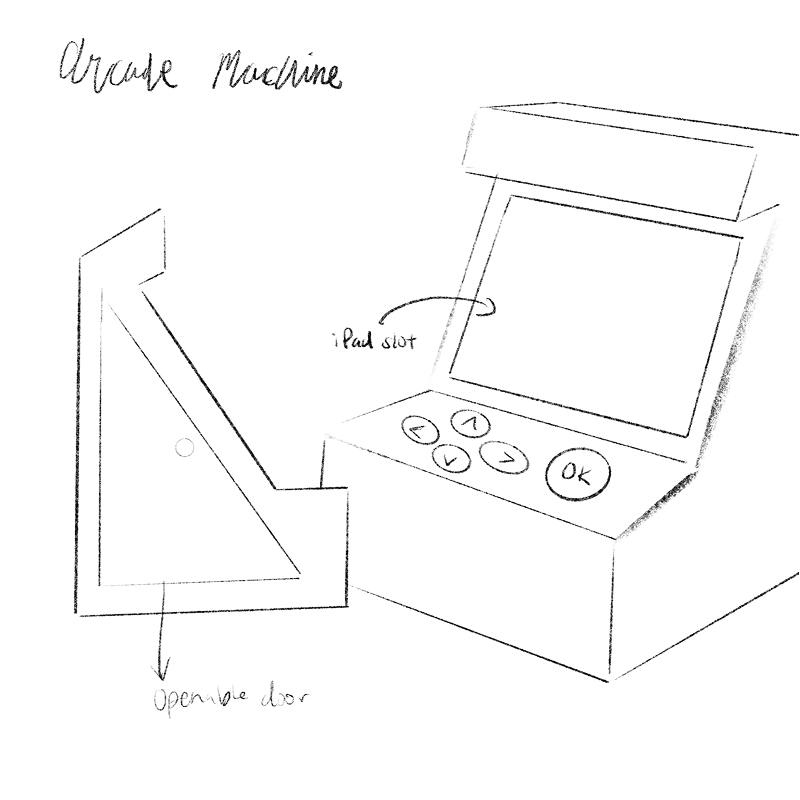


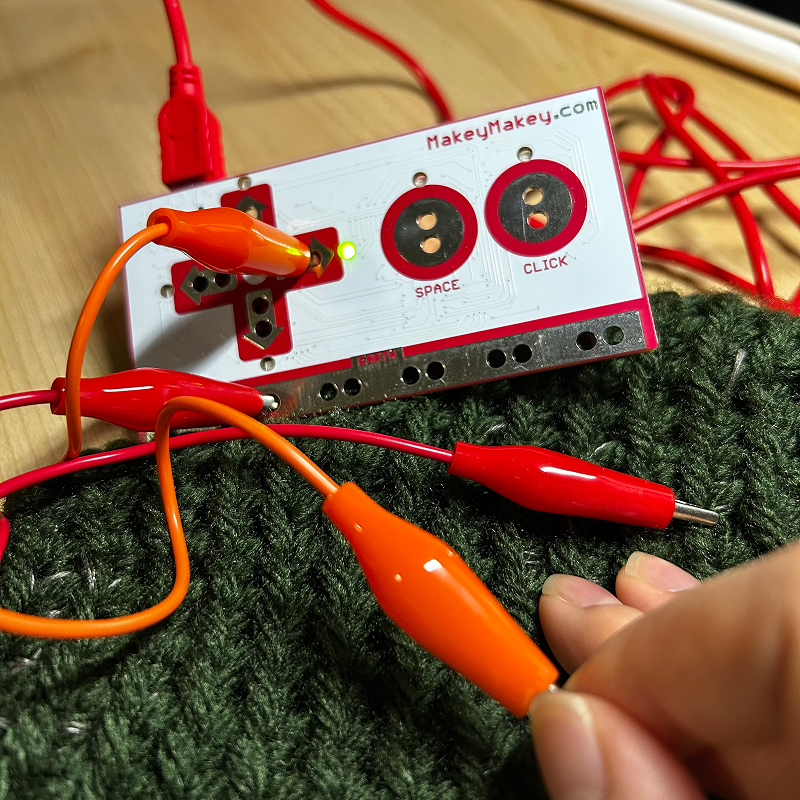
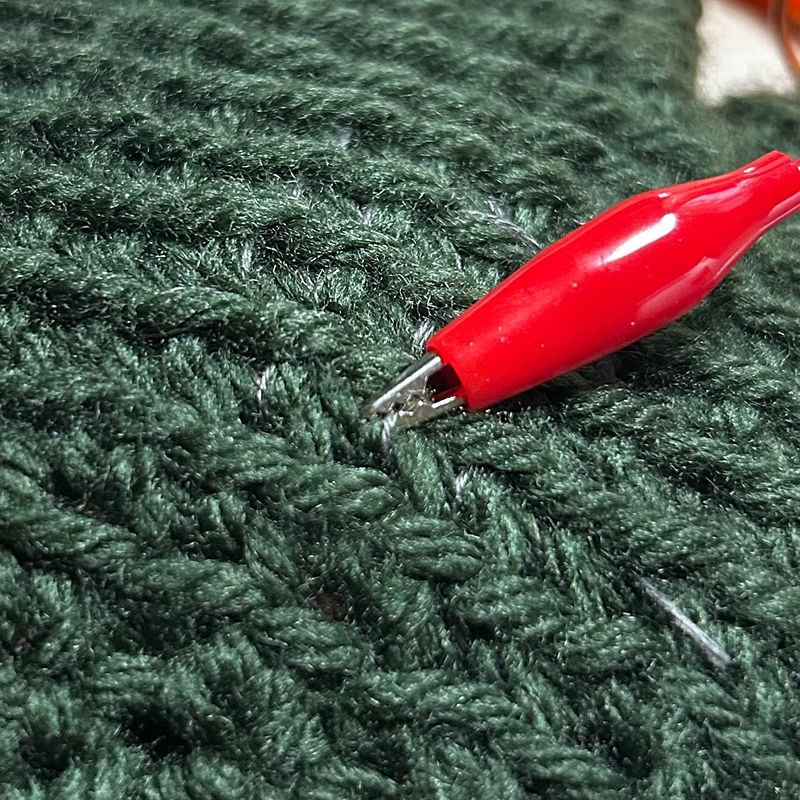

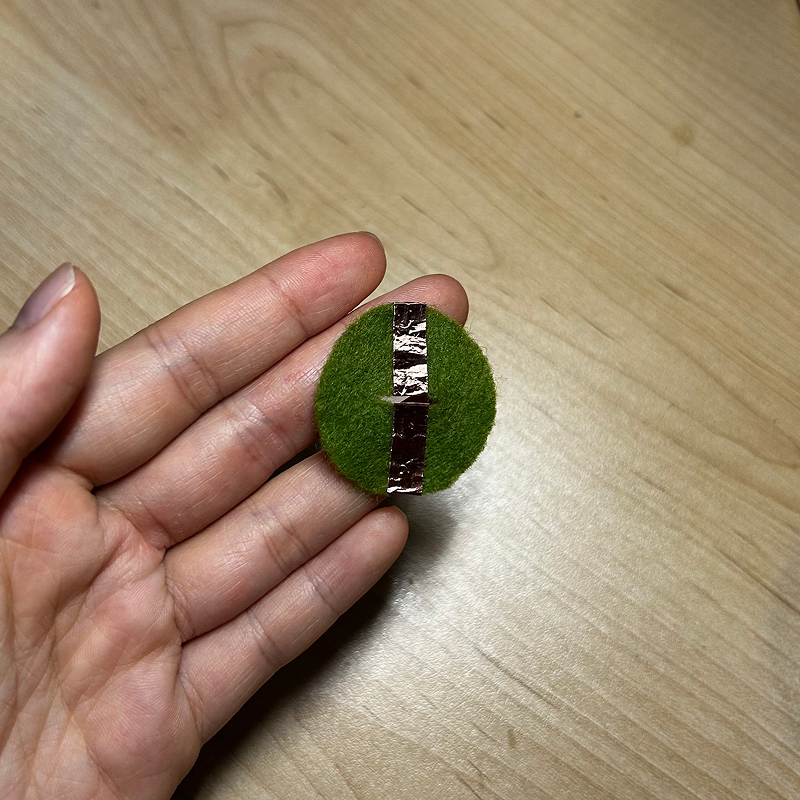
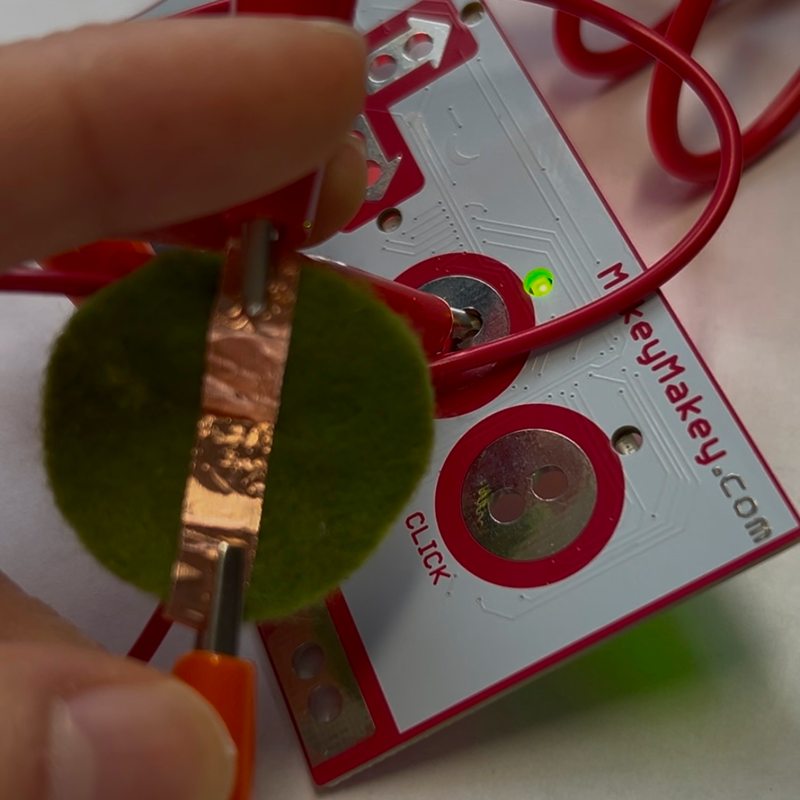
Project 3
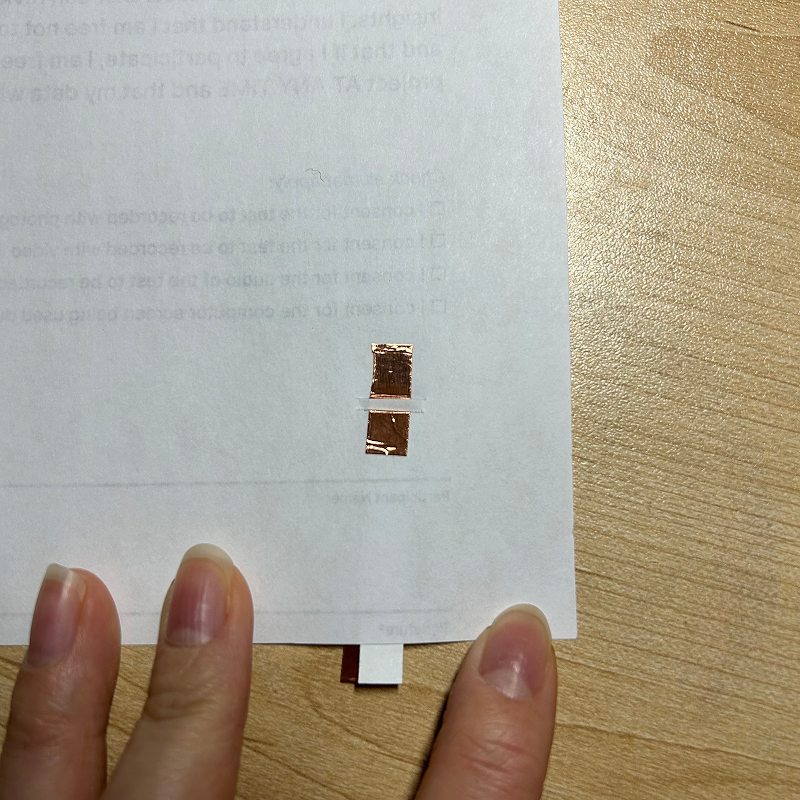
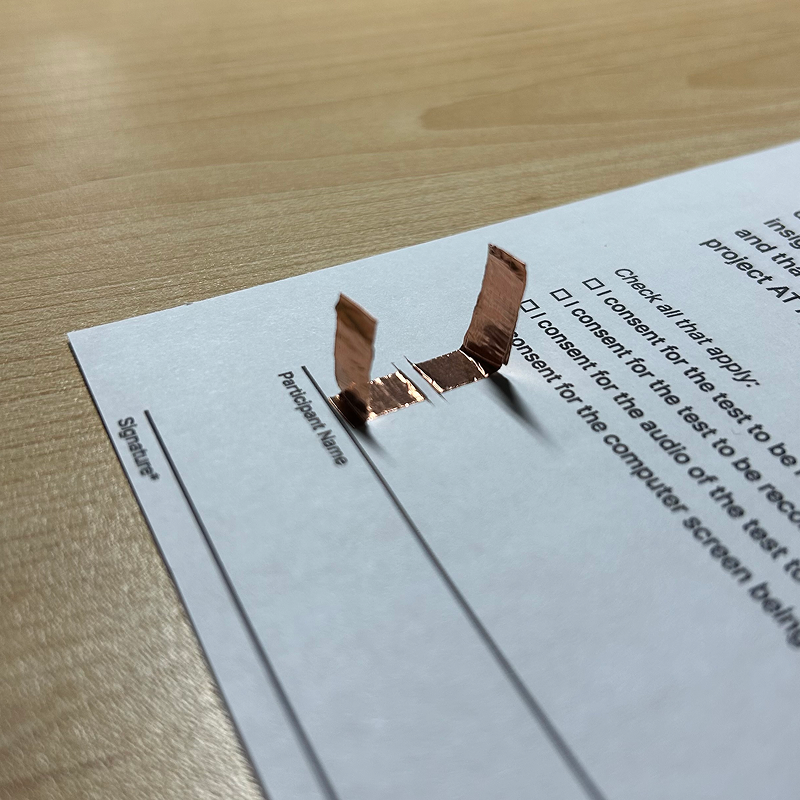
Final Project 3 Design
I rarely sit in silence and simply observe my surroundings. Any free moment, I instinctively reach for my phone. One night at my sister’s apartment in Toronto, I found myself lying in bed, listening to the city’s ambient noise—one of the few times I had no other stimulation. I realized how long it had been since I truly focused on my surroundings. I fill silence with music or podcasts to avoid anxious thoughts, making me aware of my constant need for stimulation.
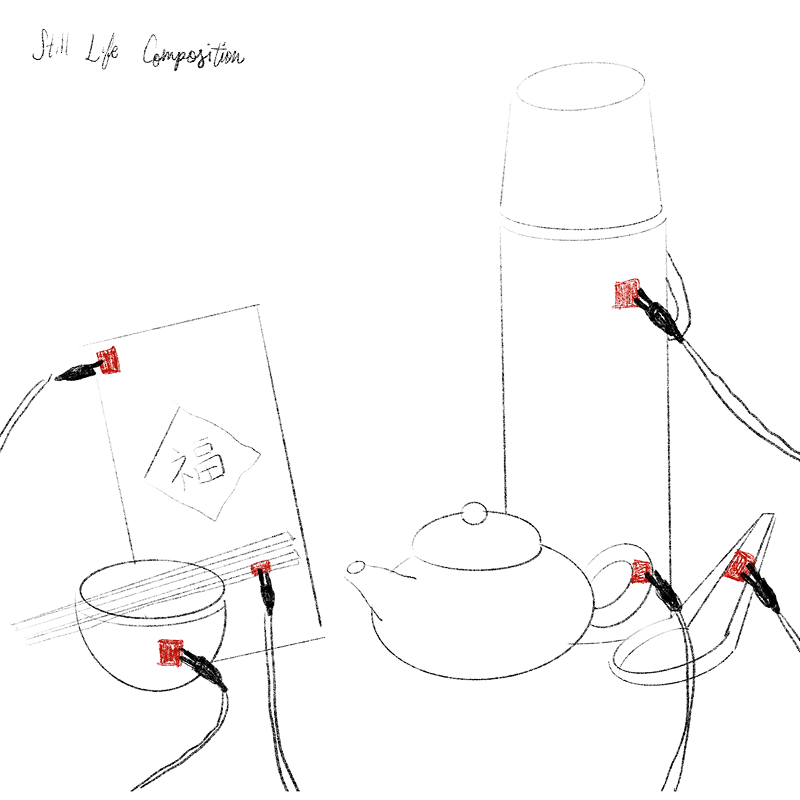
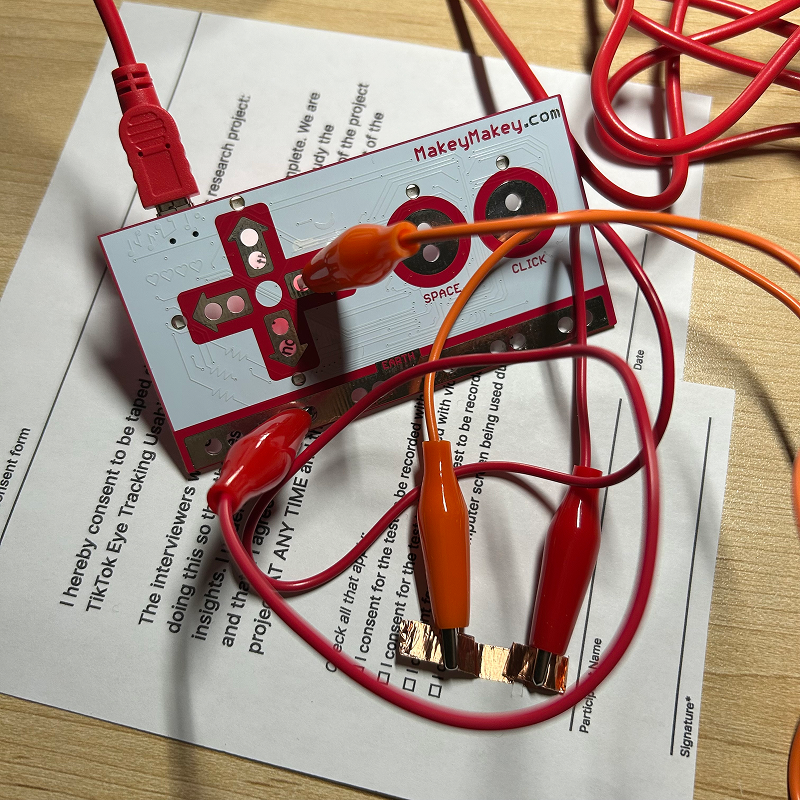
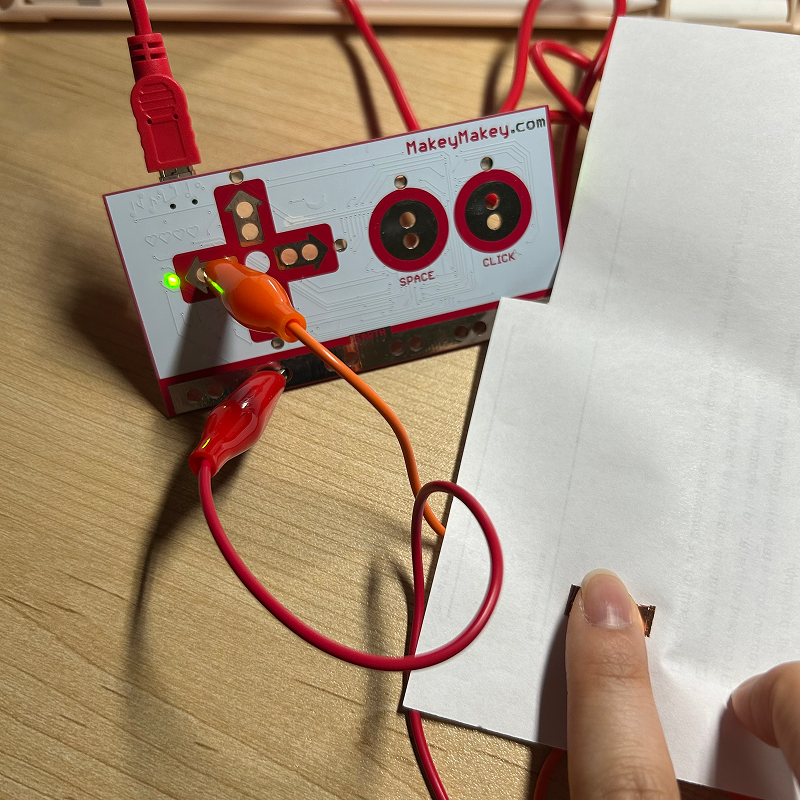
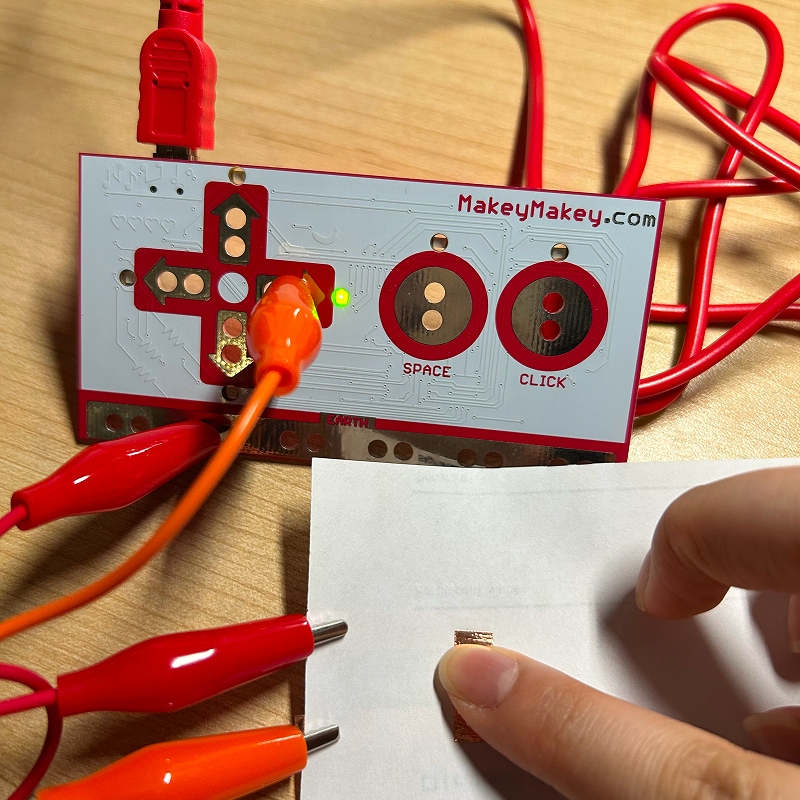
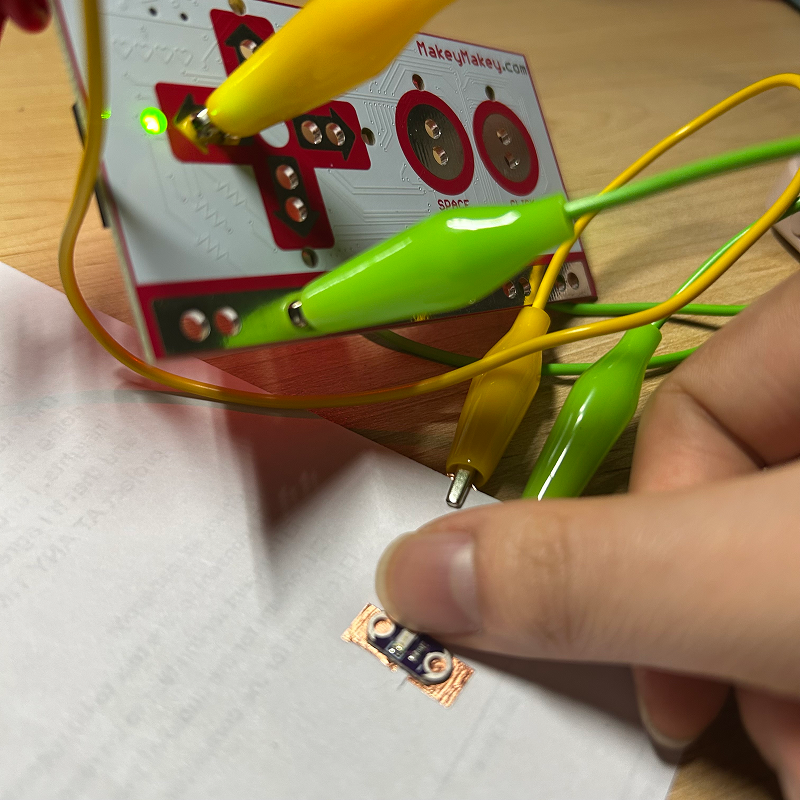
For this project, I want to encourage users to focus on their senses of touch and sound, taking the time to embrace moments of silence in their lives. Instead of fearing stillness, I want them to recognize that silence is never truly empty and that there is always something to be heard and felt.
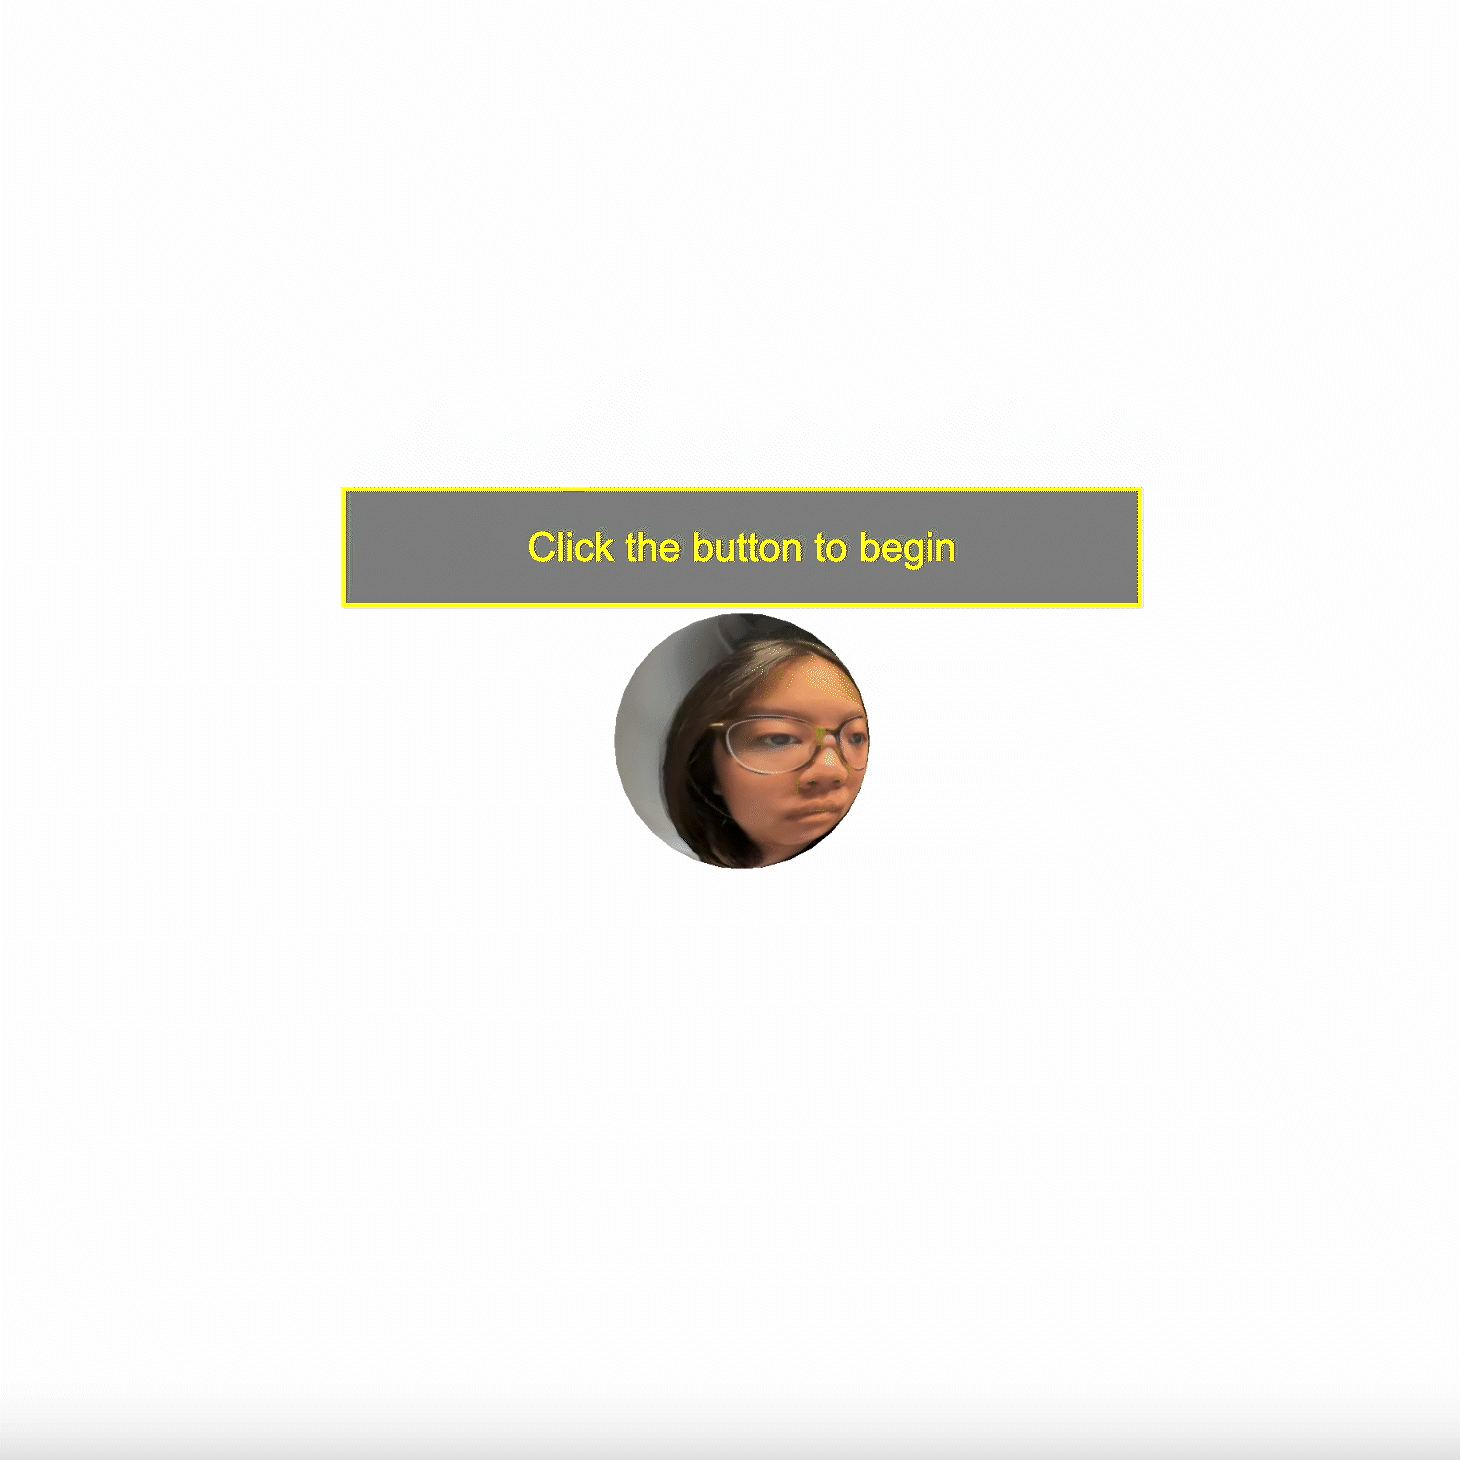
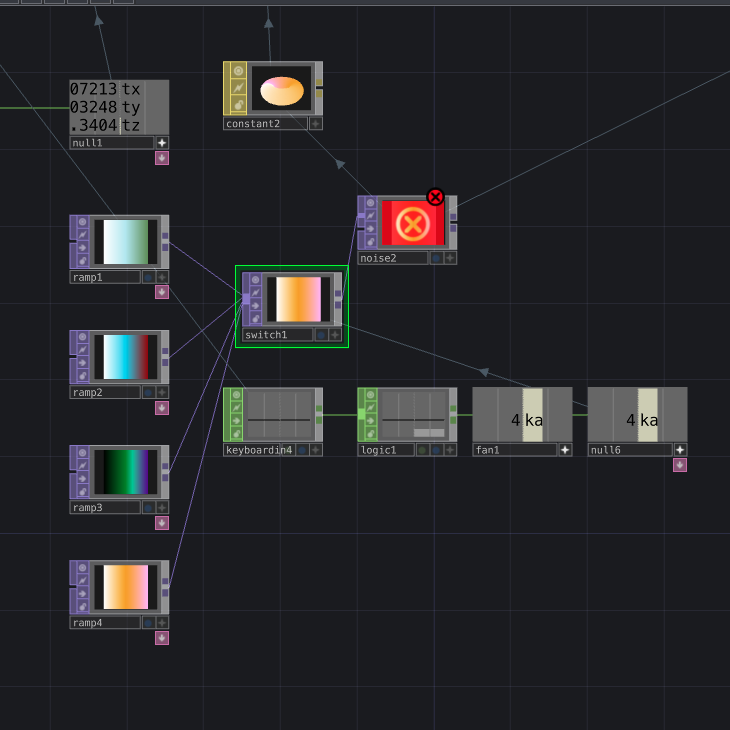
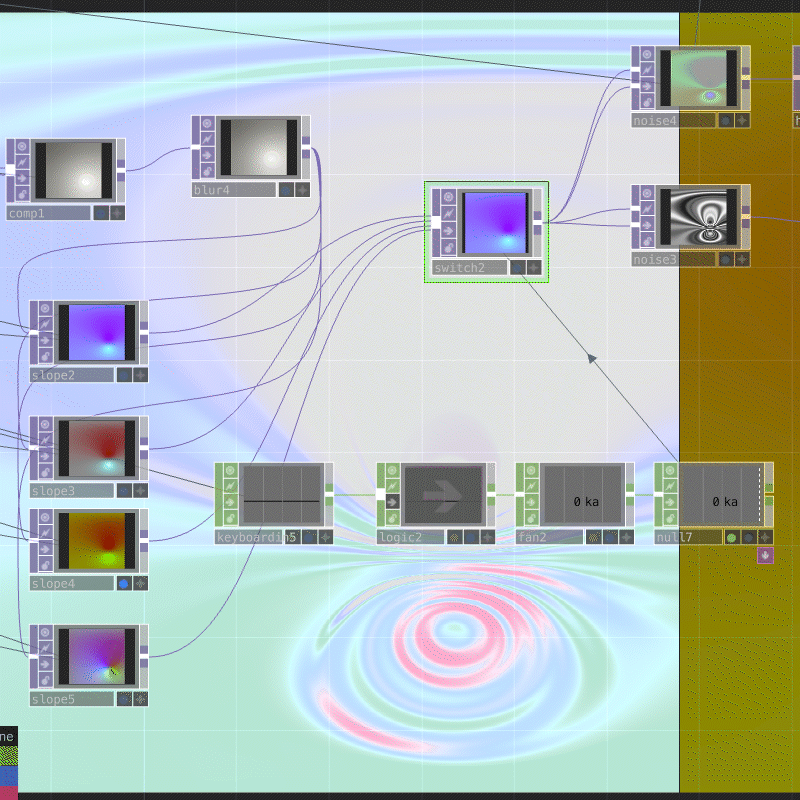
Demo
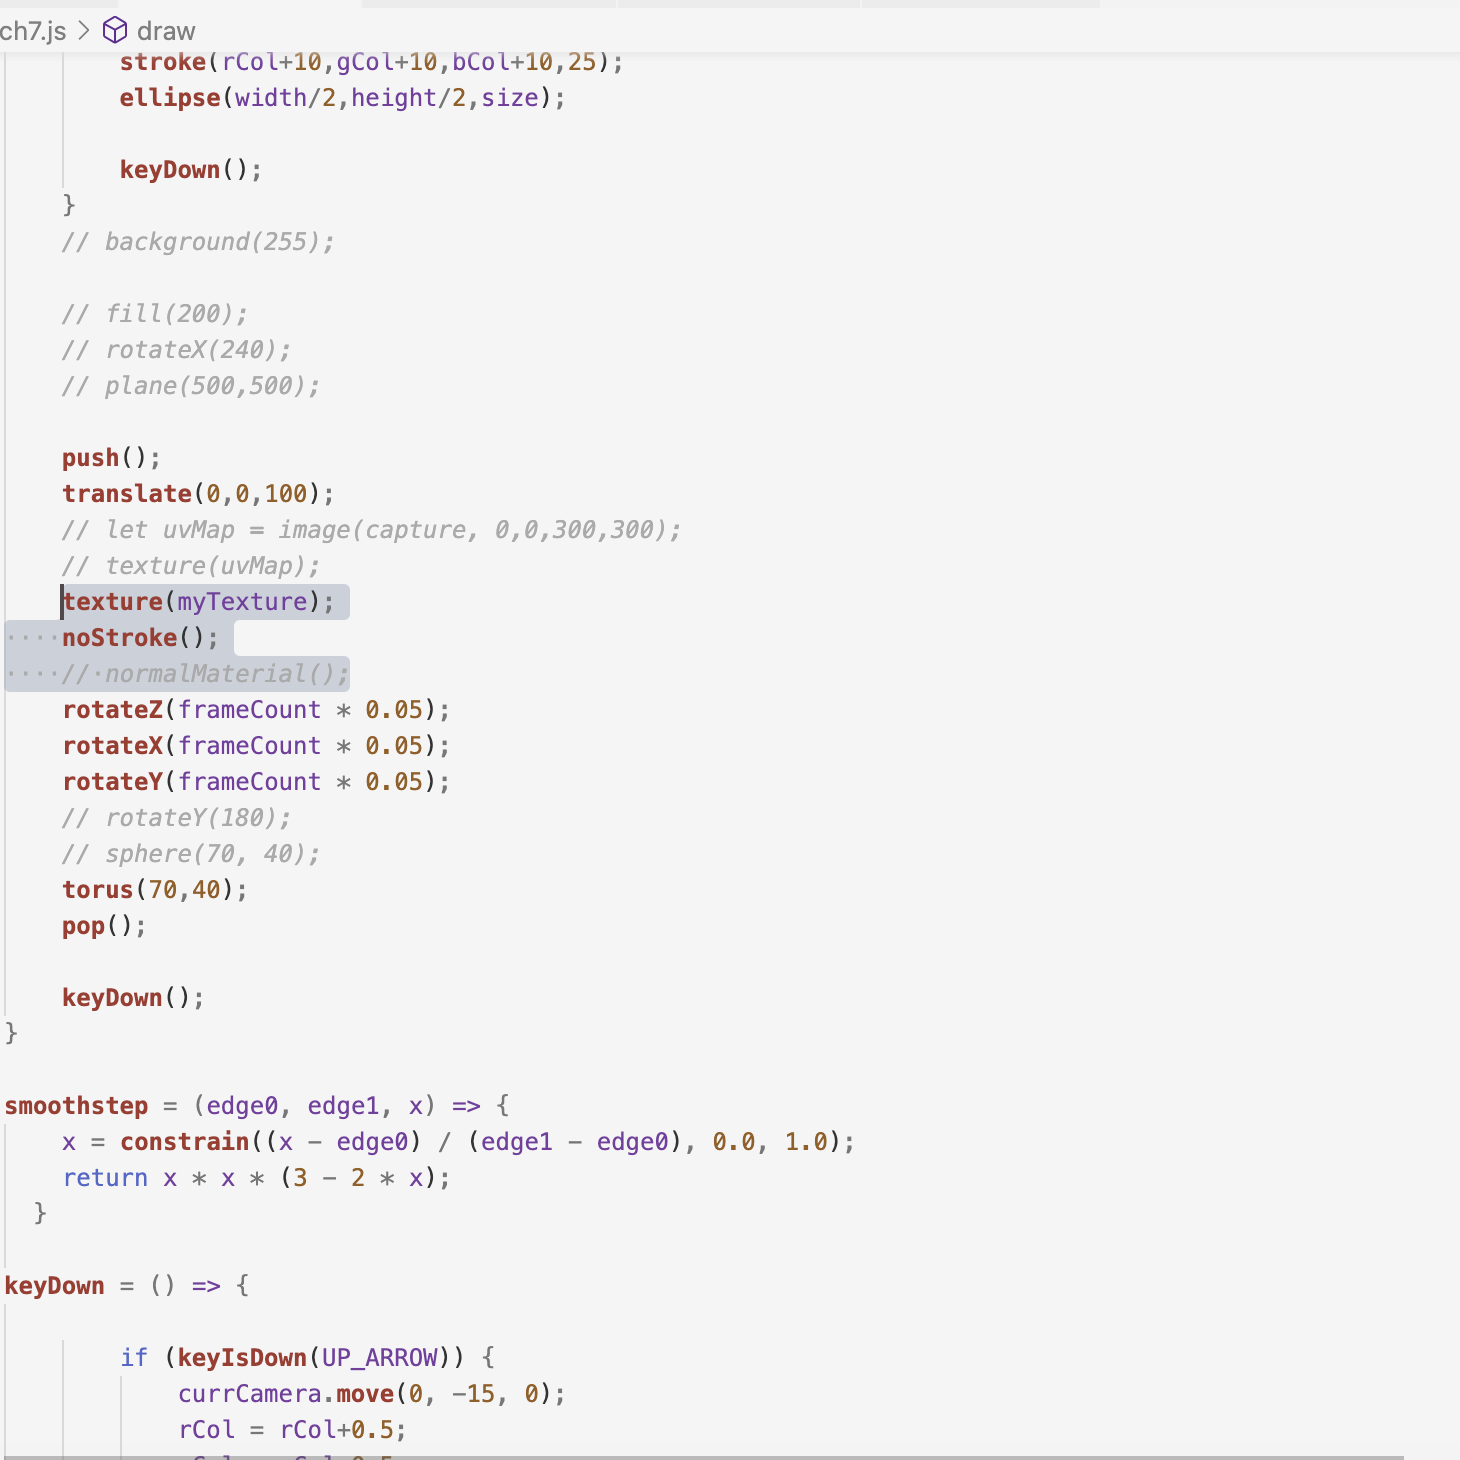
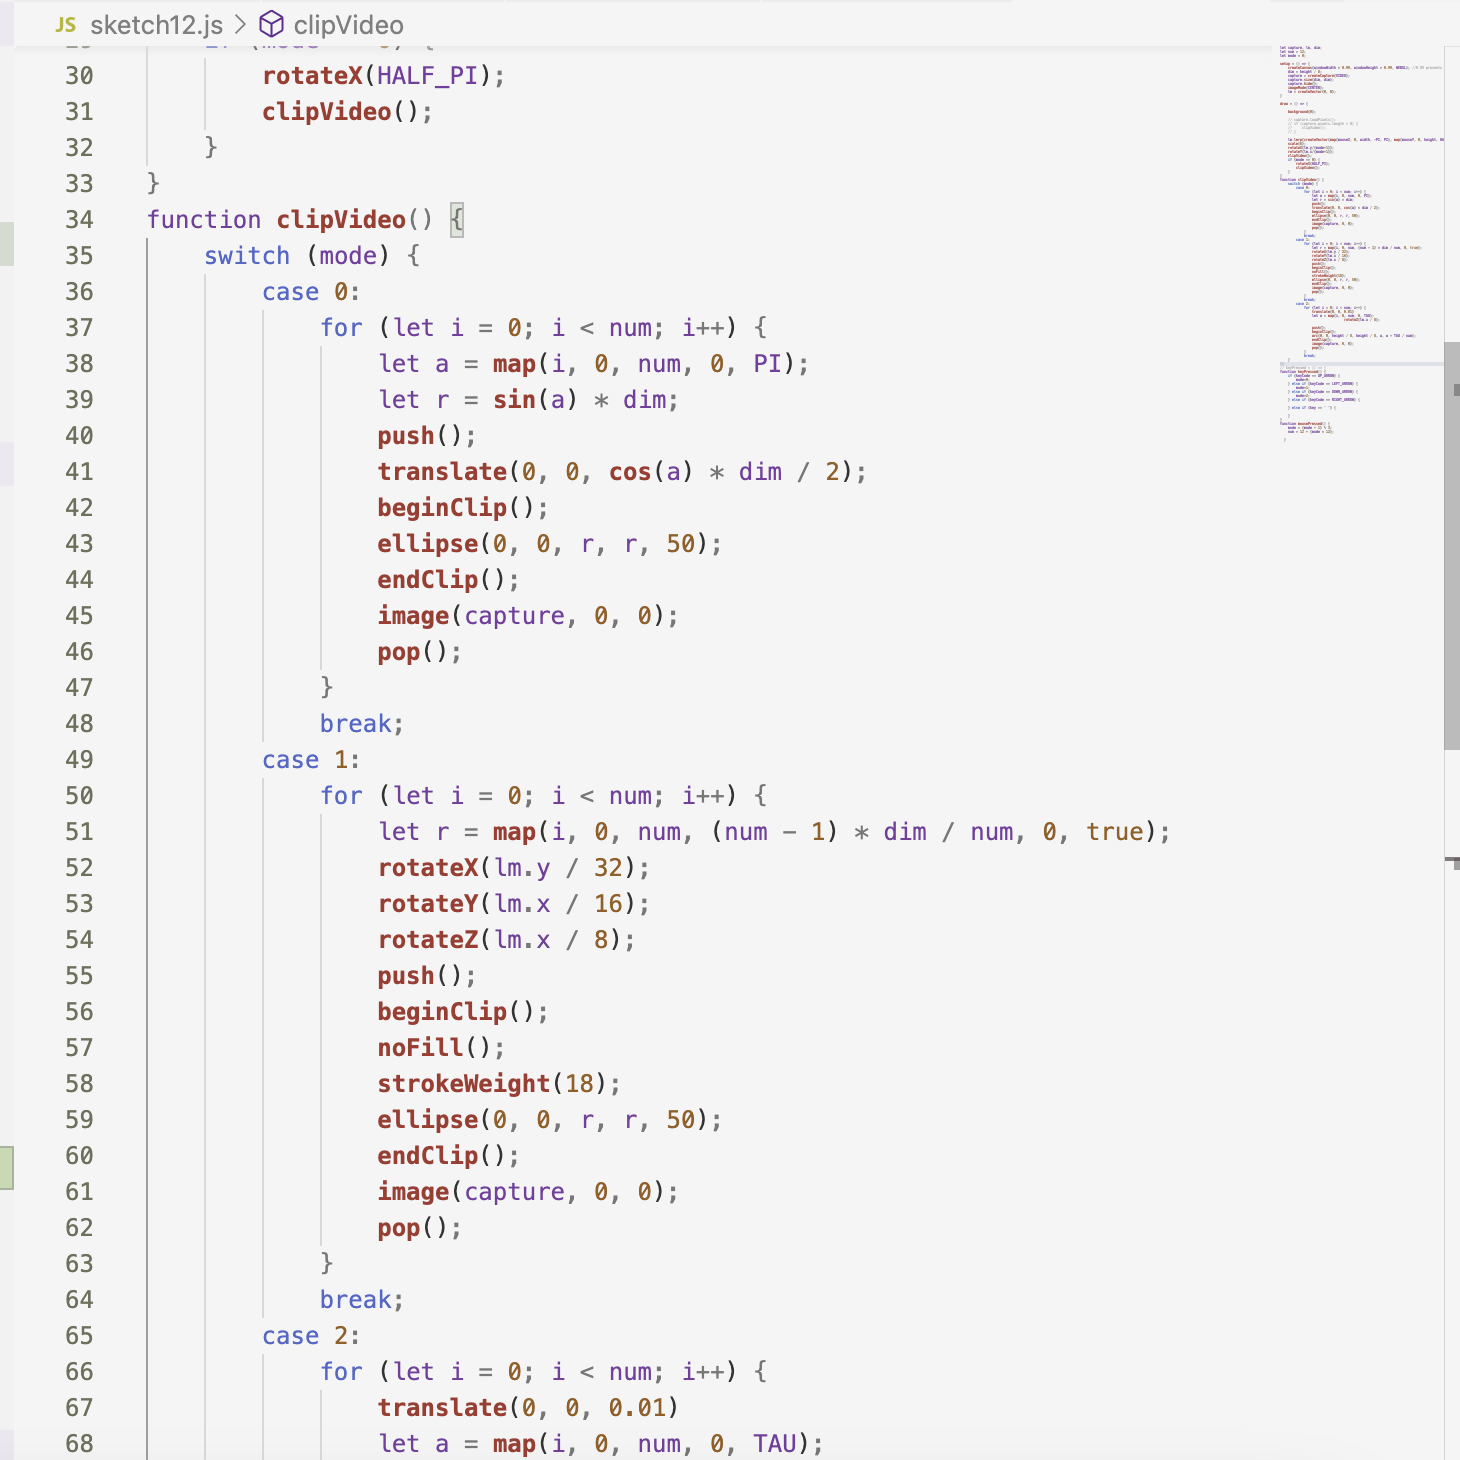
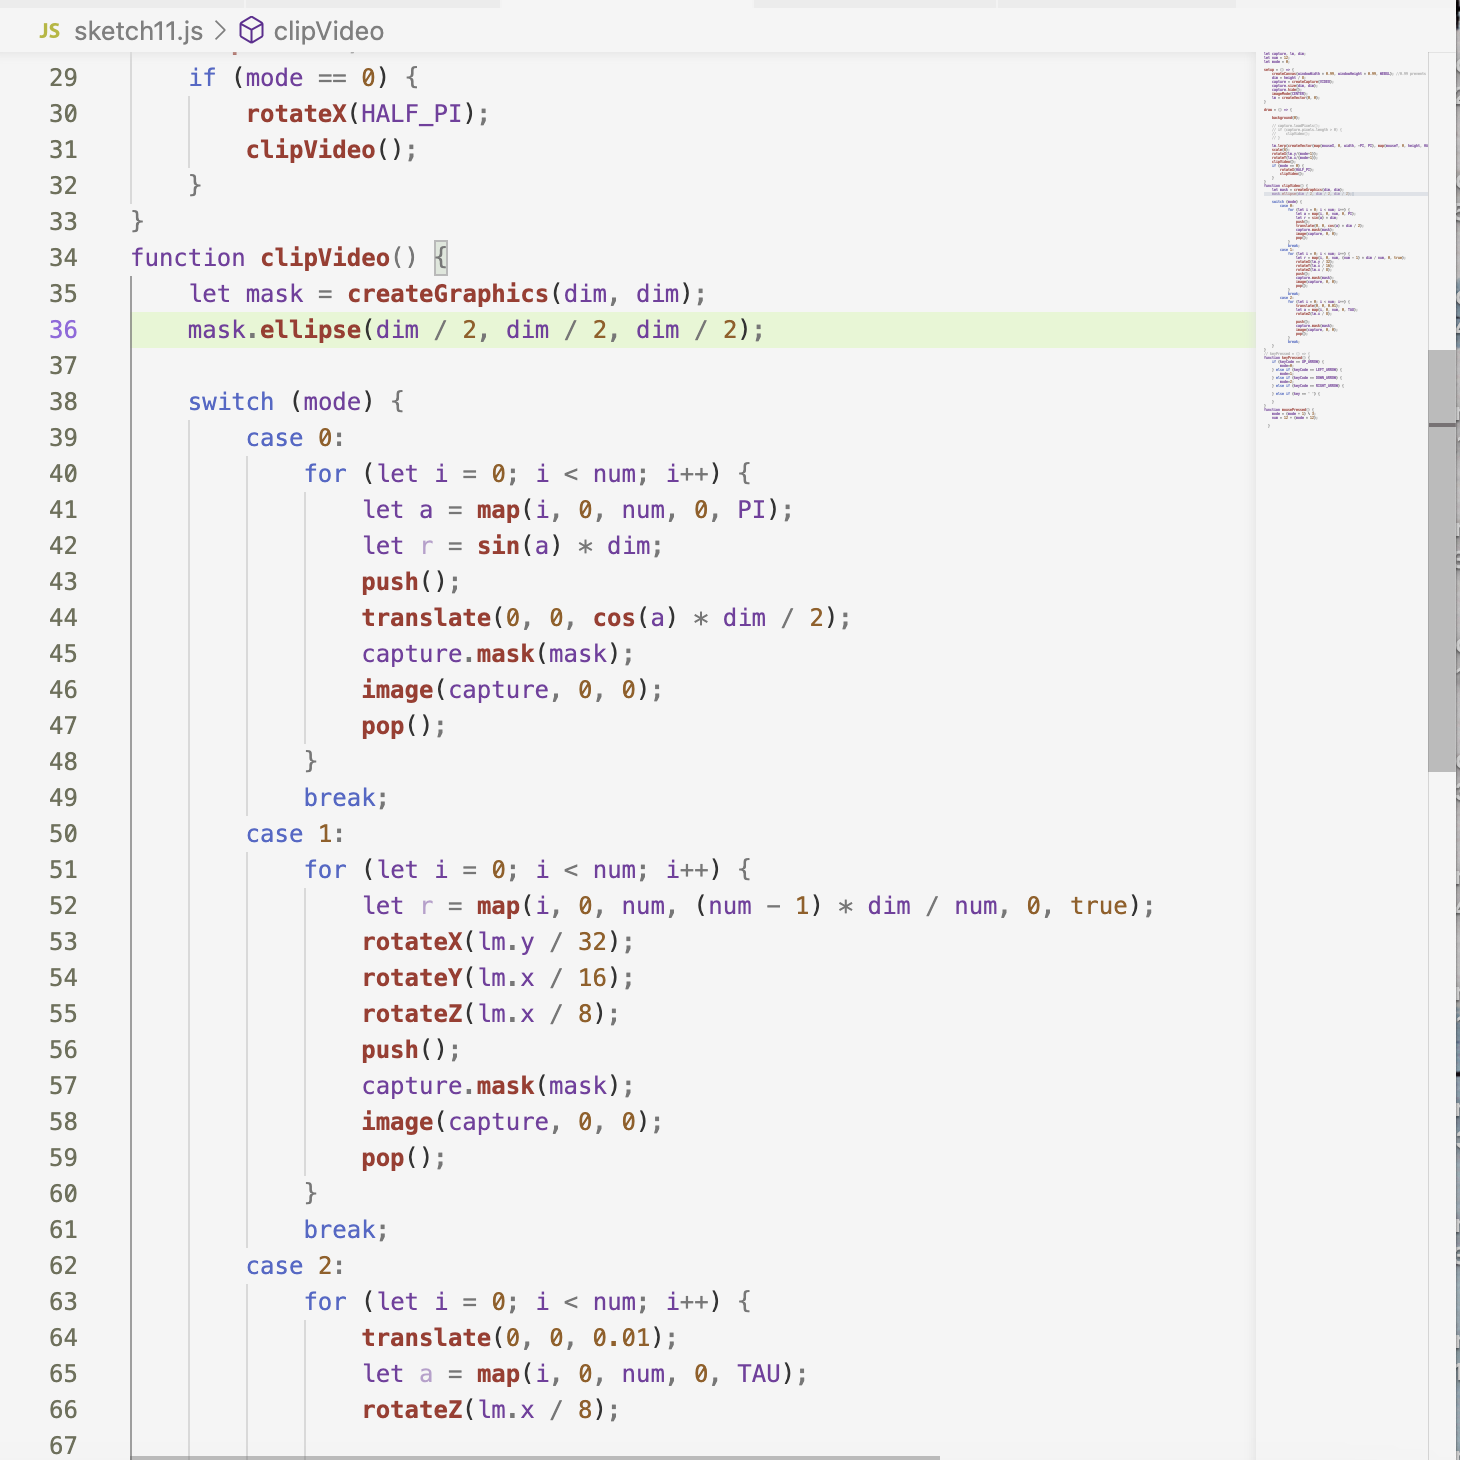
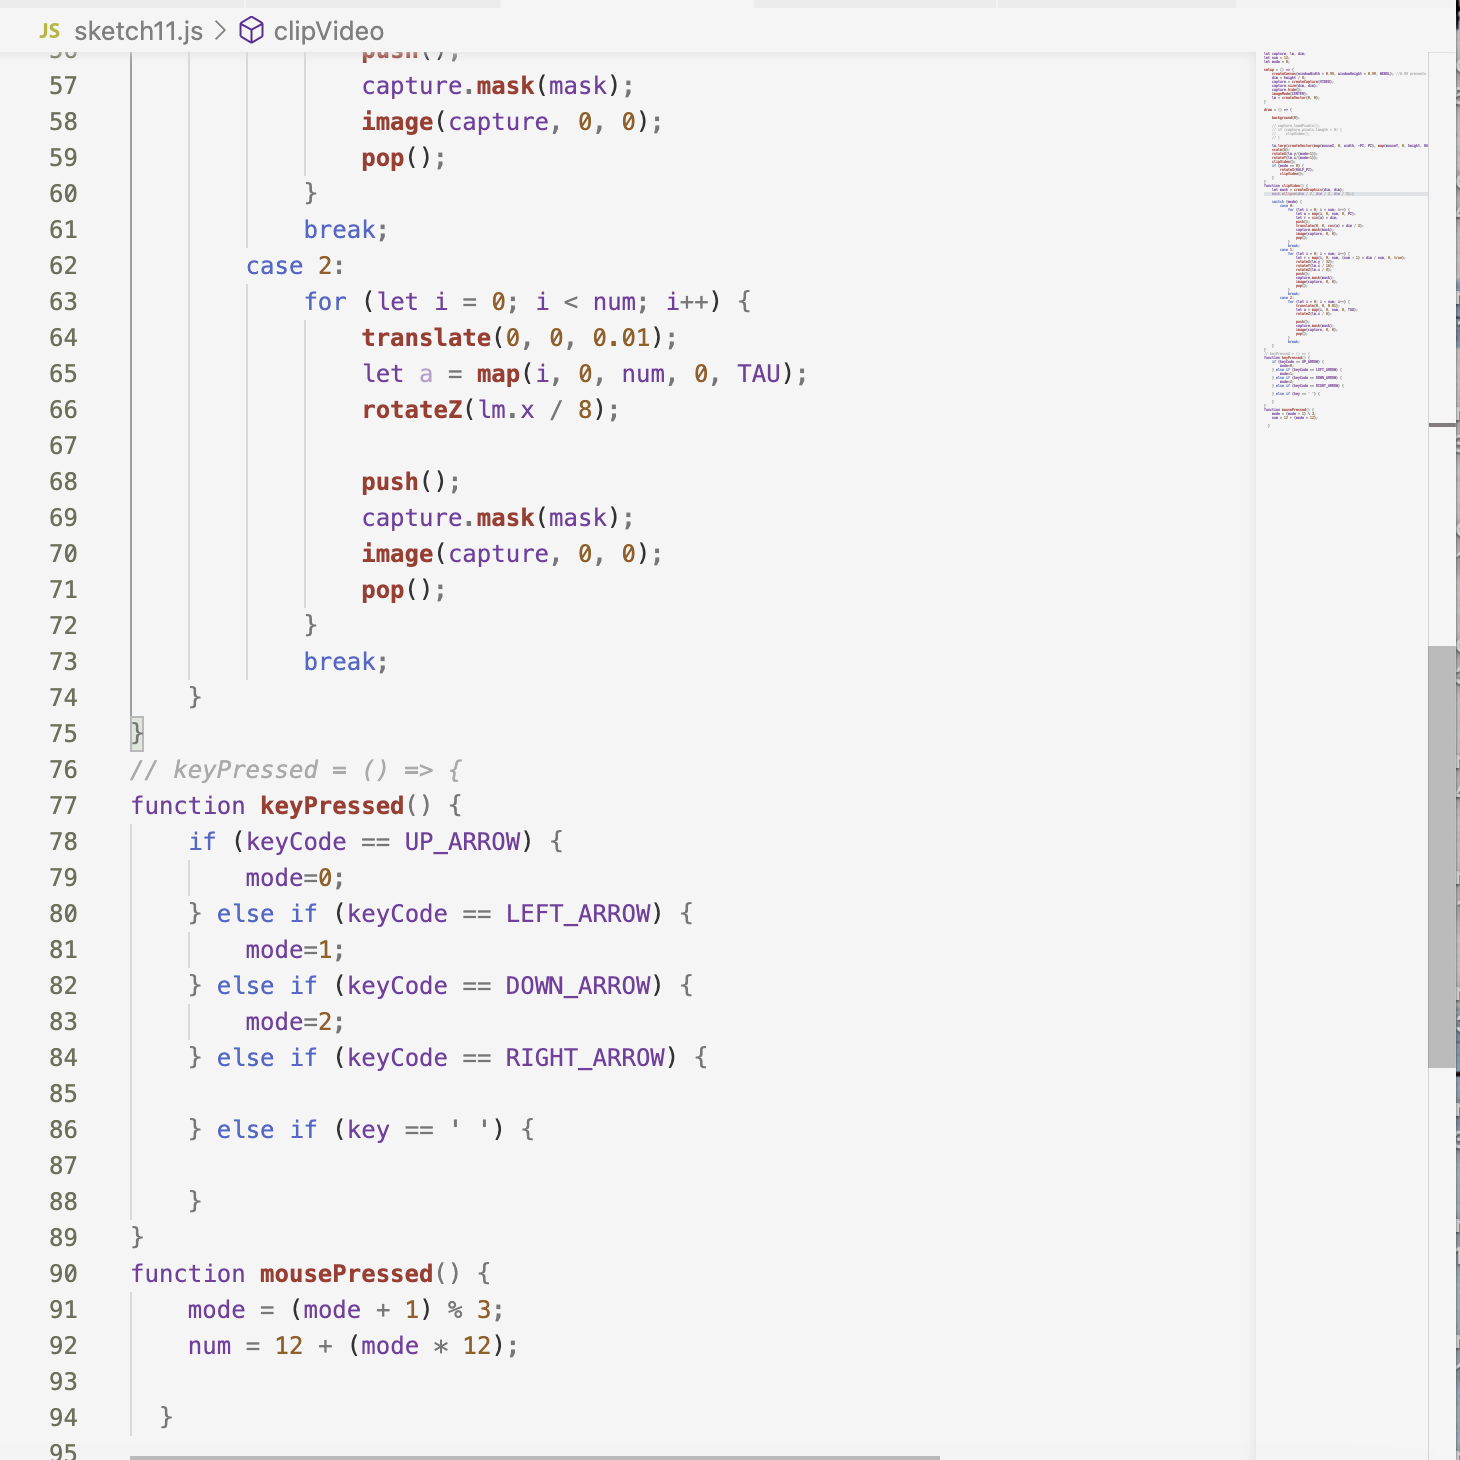
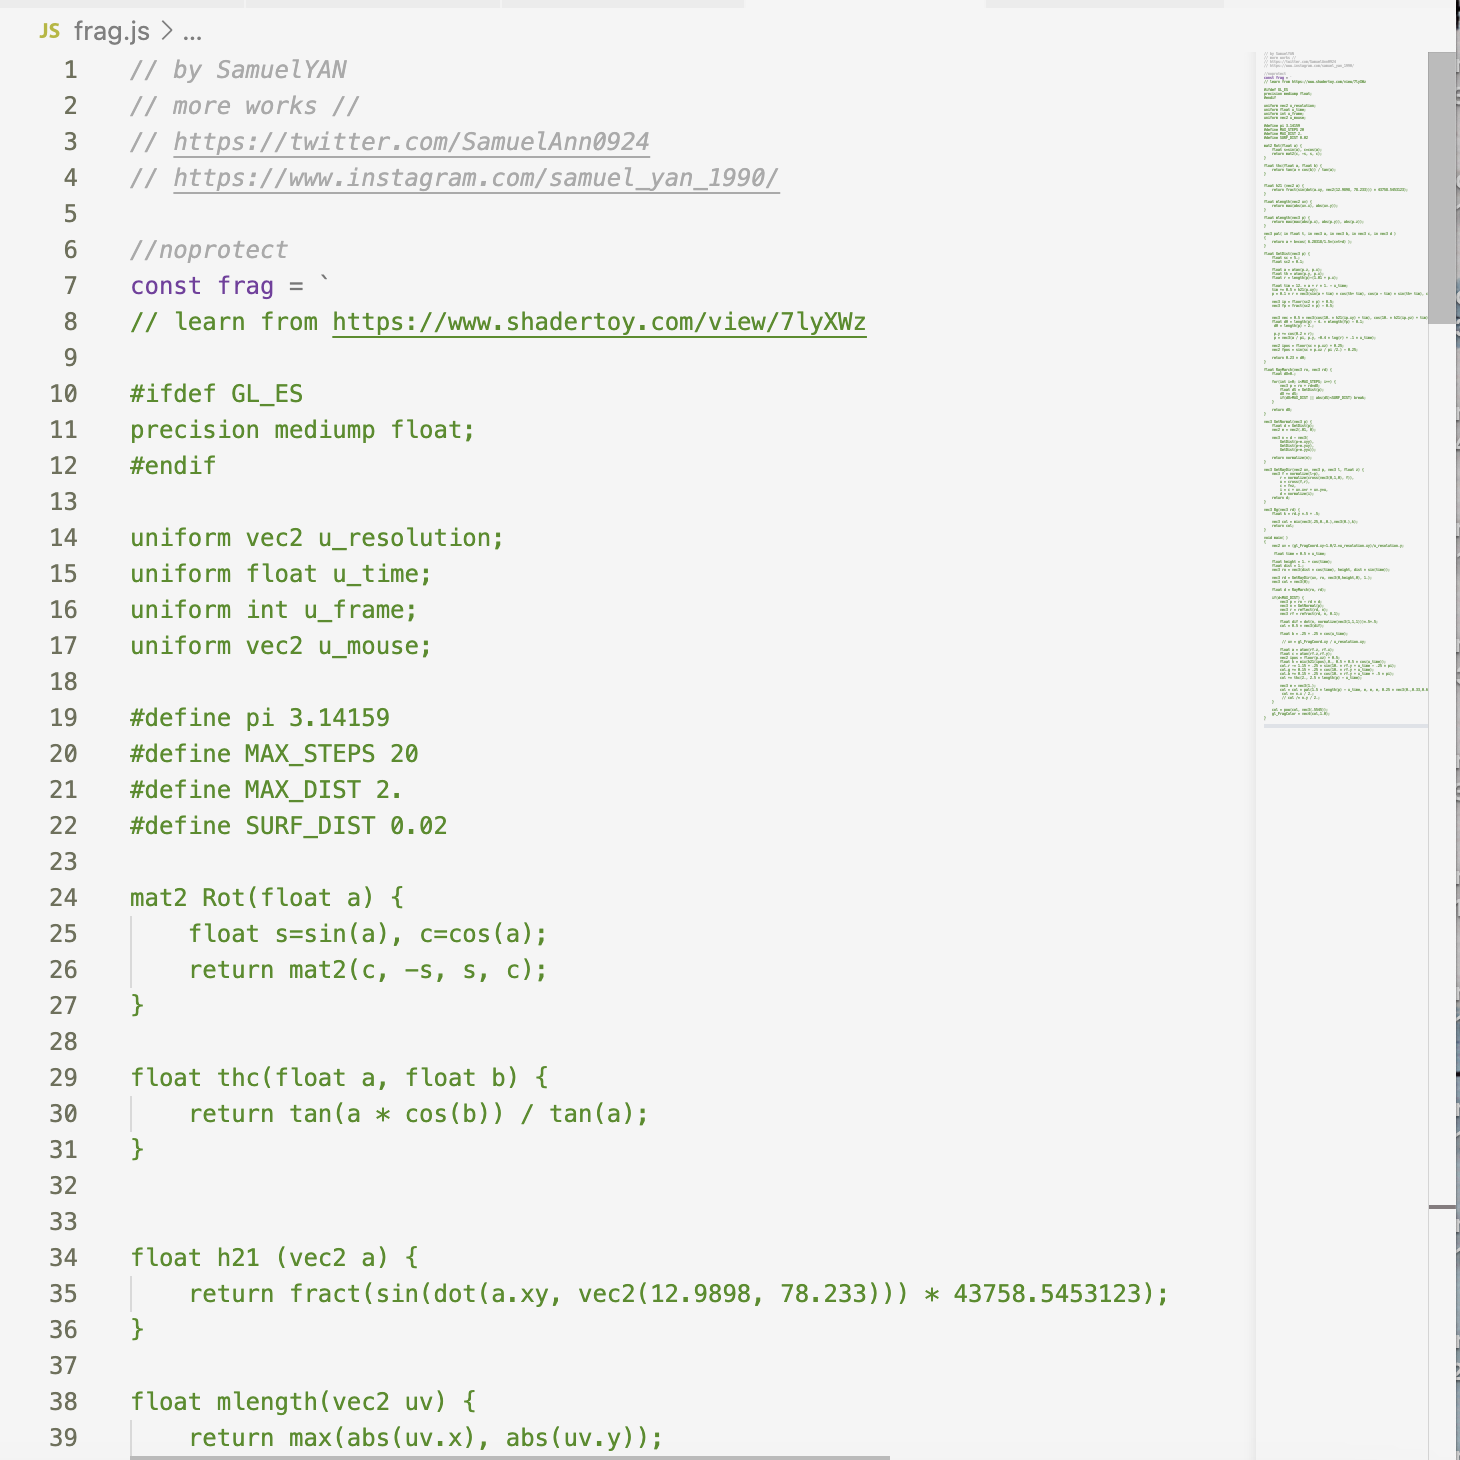
Screen Recording of Touch Designer
Powered by w3.css